Taras Studio_Box_20140316_2a

Taras Studio_Box_20140316_8a

I have a special project with tutorial to share with you.  I used the beautiful  Shoreline Treasures papers to make this calendar cube.  The cube measures 3 1/4″ square and has 12 slots – one for each month – 3 on each side,  with small shelves inside to hold the calendar inserts in place.  The slots decrease in height incrementally by 1/4″ going clockwise.  Not only can you fill these slots with calendar months, but you can also fill them with recipes, photos, inspirational messages, or schedules.  My inserts have a monthly calendar on one side and a beautiful maritime image from the collection on the other side so that when the insert is removed and placed in position at the top of the cube, both sides of the insert can be seen.

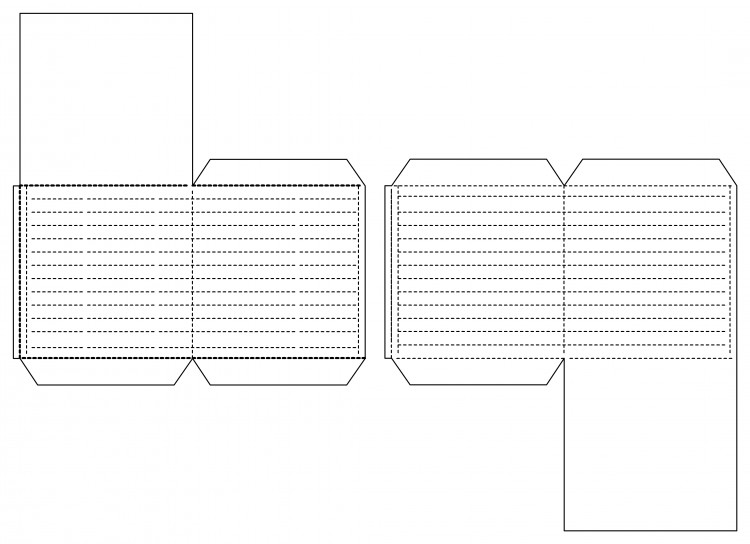
1.  Cut 2 pieces of cardstock each measuring 6 5/8″ x 7″.  Take each piece and score at 1/8″ and 3 3/8″ down the shorter side.  Also lightly score at 1/4″ and  6 1/2″ as these light score lines will be vertical guide marks for when cutting slots.  Turn and score at 1/2″ and 3 3/4″ down the longer side.  Score also at 4 1/4″ and then cut out one square along this score line as shown below forming tabs on the 1/2″ remaining piece as you cut out the square portion.  Between the 1/2″ and 3 3/4″  score lines on the longer side,  lightly score every 1/4″ as shown on the template below as these 12 light score marks will be your guides when cutting the slots.  You will need to make sure to cut all the tabs as shown below.
calendar cube1.1

2.  Orient your pieces as shown on the template below and starting at the top left, begin cutting 3″ slots along the horizontal score lines using the lightly scored vertical lines on the sides as your guides for where to start the cut.  Once cut, go 1/4″ down on the next square to the right and cut another 3″ slot.  Continue to repeat this pattern on each of the 4 sides going 1/4″ down each time.  Your cuts should look like the below template when finished:

calendar cube2.2

3.  Fold along score lines to form and adhere the top and bottom flaps to the tabs.

Taras Studio_Box_20140316_2

4.  Cut 11 rectangles measuring 1 3/4″ x 3 1/8″.  Score at 1/4″ along the long side and 1/8″ along the short side.  Cut out the little corner where the score lines meet.  Six of the rectangles will need to be folded in one direction along the score lines while  the other five will need to be folded in the opposite direction to work each side of the cube.

shelves

5.   Starting at the top of the cube, adhere one of the rectangles just below the top slot with the shorter side abutting and adhered against the other wall.  The glued tabs should be pointing down.  Repeat for the top slot on the other side.  Go one slot lower each time making sure the shelves are glued-on straight.  The very bottom slot will not need a shelf since the cube floor is so close.

Taras Studio_Box_20140316_4

Taras Studio_Box_20140316_6

Taras Studio_Box_20140316_7

6. Now carefully bring the 2 parts of the cubs together making sure the shelves are in order from top to bottom.  Adhere the cube sides together and then adhere the top and bottom.

Taras Studio_Box_20140316_8

7.  Cover and decorate with beautiful Pion Design papers

8.  Make 12 inserts for the cube slots measuring about 2 7/8″  x 3 1/2″.

Pion products:
Shoreline Treasures ~ Images PD4611
Shoreline Treasures ~ Borders PD4610
  • WOUW this is sooooooooooooooo clever and soooooooo beautiful Tara. Thanks soooo very much for all the instructions for it too, it´s really awesome, and this is definitely one, I´m going to try as soon as I´m done with my ongoing projects, as it´s soooo fabulous and looks sooo gorgeous too.
    Thanks sooo much again and have a wonderful week-end ahead here now.ReplyCancel

  • Superb idea and so perfecly constructed. It looks wonderful. Nicola xReplyCancel

  • wow, this is amazing!!!ReplyCancel

  • DT ~ Teresa

    wow wow woooow!!! amazing!!!ReplyCancel

  • cheryl cain

    This project is absolutely stunning!! I’ve just found this website today and I’m amazed at the beautiful papers and projects. Thank you for sharing your talent!ReplyCancel

  • WOW!!!! This is gorgeous and so different.
    Did you cut have a cut file for the cube ?ReplyCancel

  • Inez

    I love this calender cube. Is it possible to get in another cutting format such as dxf, gsd, or svg? Make the Cut is not working for me.ReplyCancel

    • DT ~ Tara

      Hi Inez, I only have the cutting file available in WPC format and I don’t know how to convert it to another format. My understanding though is that there are ways to convert this file format to whichever one you need, and so you may try doing an internet search to find out how this is done. Best wishes! TaraReplyCancel

SHARE ON FACEBOOKSHARE ON GOOGLEPIN IMAGESUBSCRIBE BY EMAIL

IMG_1568

Hello! Here’s a card I made with the Shoreline Treasures collection. Love that pretty image of the girls on the sea and just had to use it.

Have a great day!

Teresa

Pion products:
Shoreline Treasures 6×6″ – Warm breeze PD4704
Shoreline Treasures 6×6″ – Iris Sibirica PD4702
Shoreline Treasures 6×6″ – Bottom of the sea PD4703
Shoreline Treasures – Knots PD4609

SHARE ON FACEBOOKSHARE ON GOOGLEPIN IMAGESUBSCRIBE BY EMAIL

kortit-0011-750x730t

Here is my new card I made using beautiful Shoreline Treasures papers.

Have a nice day,
Minna

Pion products:
Shoreline Treasures – Dragonfly PD4605
Shoreline Treasures – Seahorse PD4606
Shoreline Treasures 6×6″  – Dragonfly PD4705

  • WOUW more beauty here. I admit, I´m totally sold to these new collections here and this is also just so beautiful. You did an awesome job on this card here. So many beautiful details on it.
    I can see you´ve used cheesecloth on it, can you please tell me, where to find that, as I´ve been asking almost everywhere I can think of even a diary, but noone seems to have it here in Denmark anywhere, but many use it, so it has to be found somewhere, the question is just where that place is??? Can you tell me please???ReplyCancel

  • Theresa ~ Pion Design

    Hi Maryann. I’ve been looking for cheesecloth for a long time too 🙂 Sweet dt-member Anne Kristine send me a package from http://www.bikuben.com/ Hope you find some ♥ReplyCancel

  • DT ~ Minna

    Hi Maryann:) Thank you for your sweet comment. I have bought the cheese cloth from our local fabric store and there it`s called gauze. Maybe you can also found this from your local store.ReplyCancel

  • so beautiful!!!ReplyCancel

SHARE ON FACEBOOKSHARE ON GOOGLEPIN IMAGESUBSCRIBE BY EMAIL

Forevert

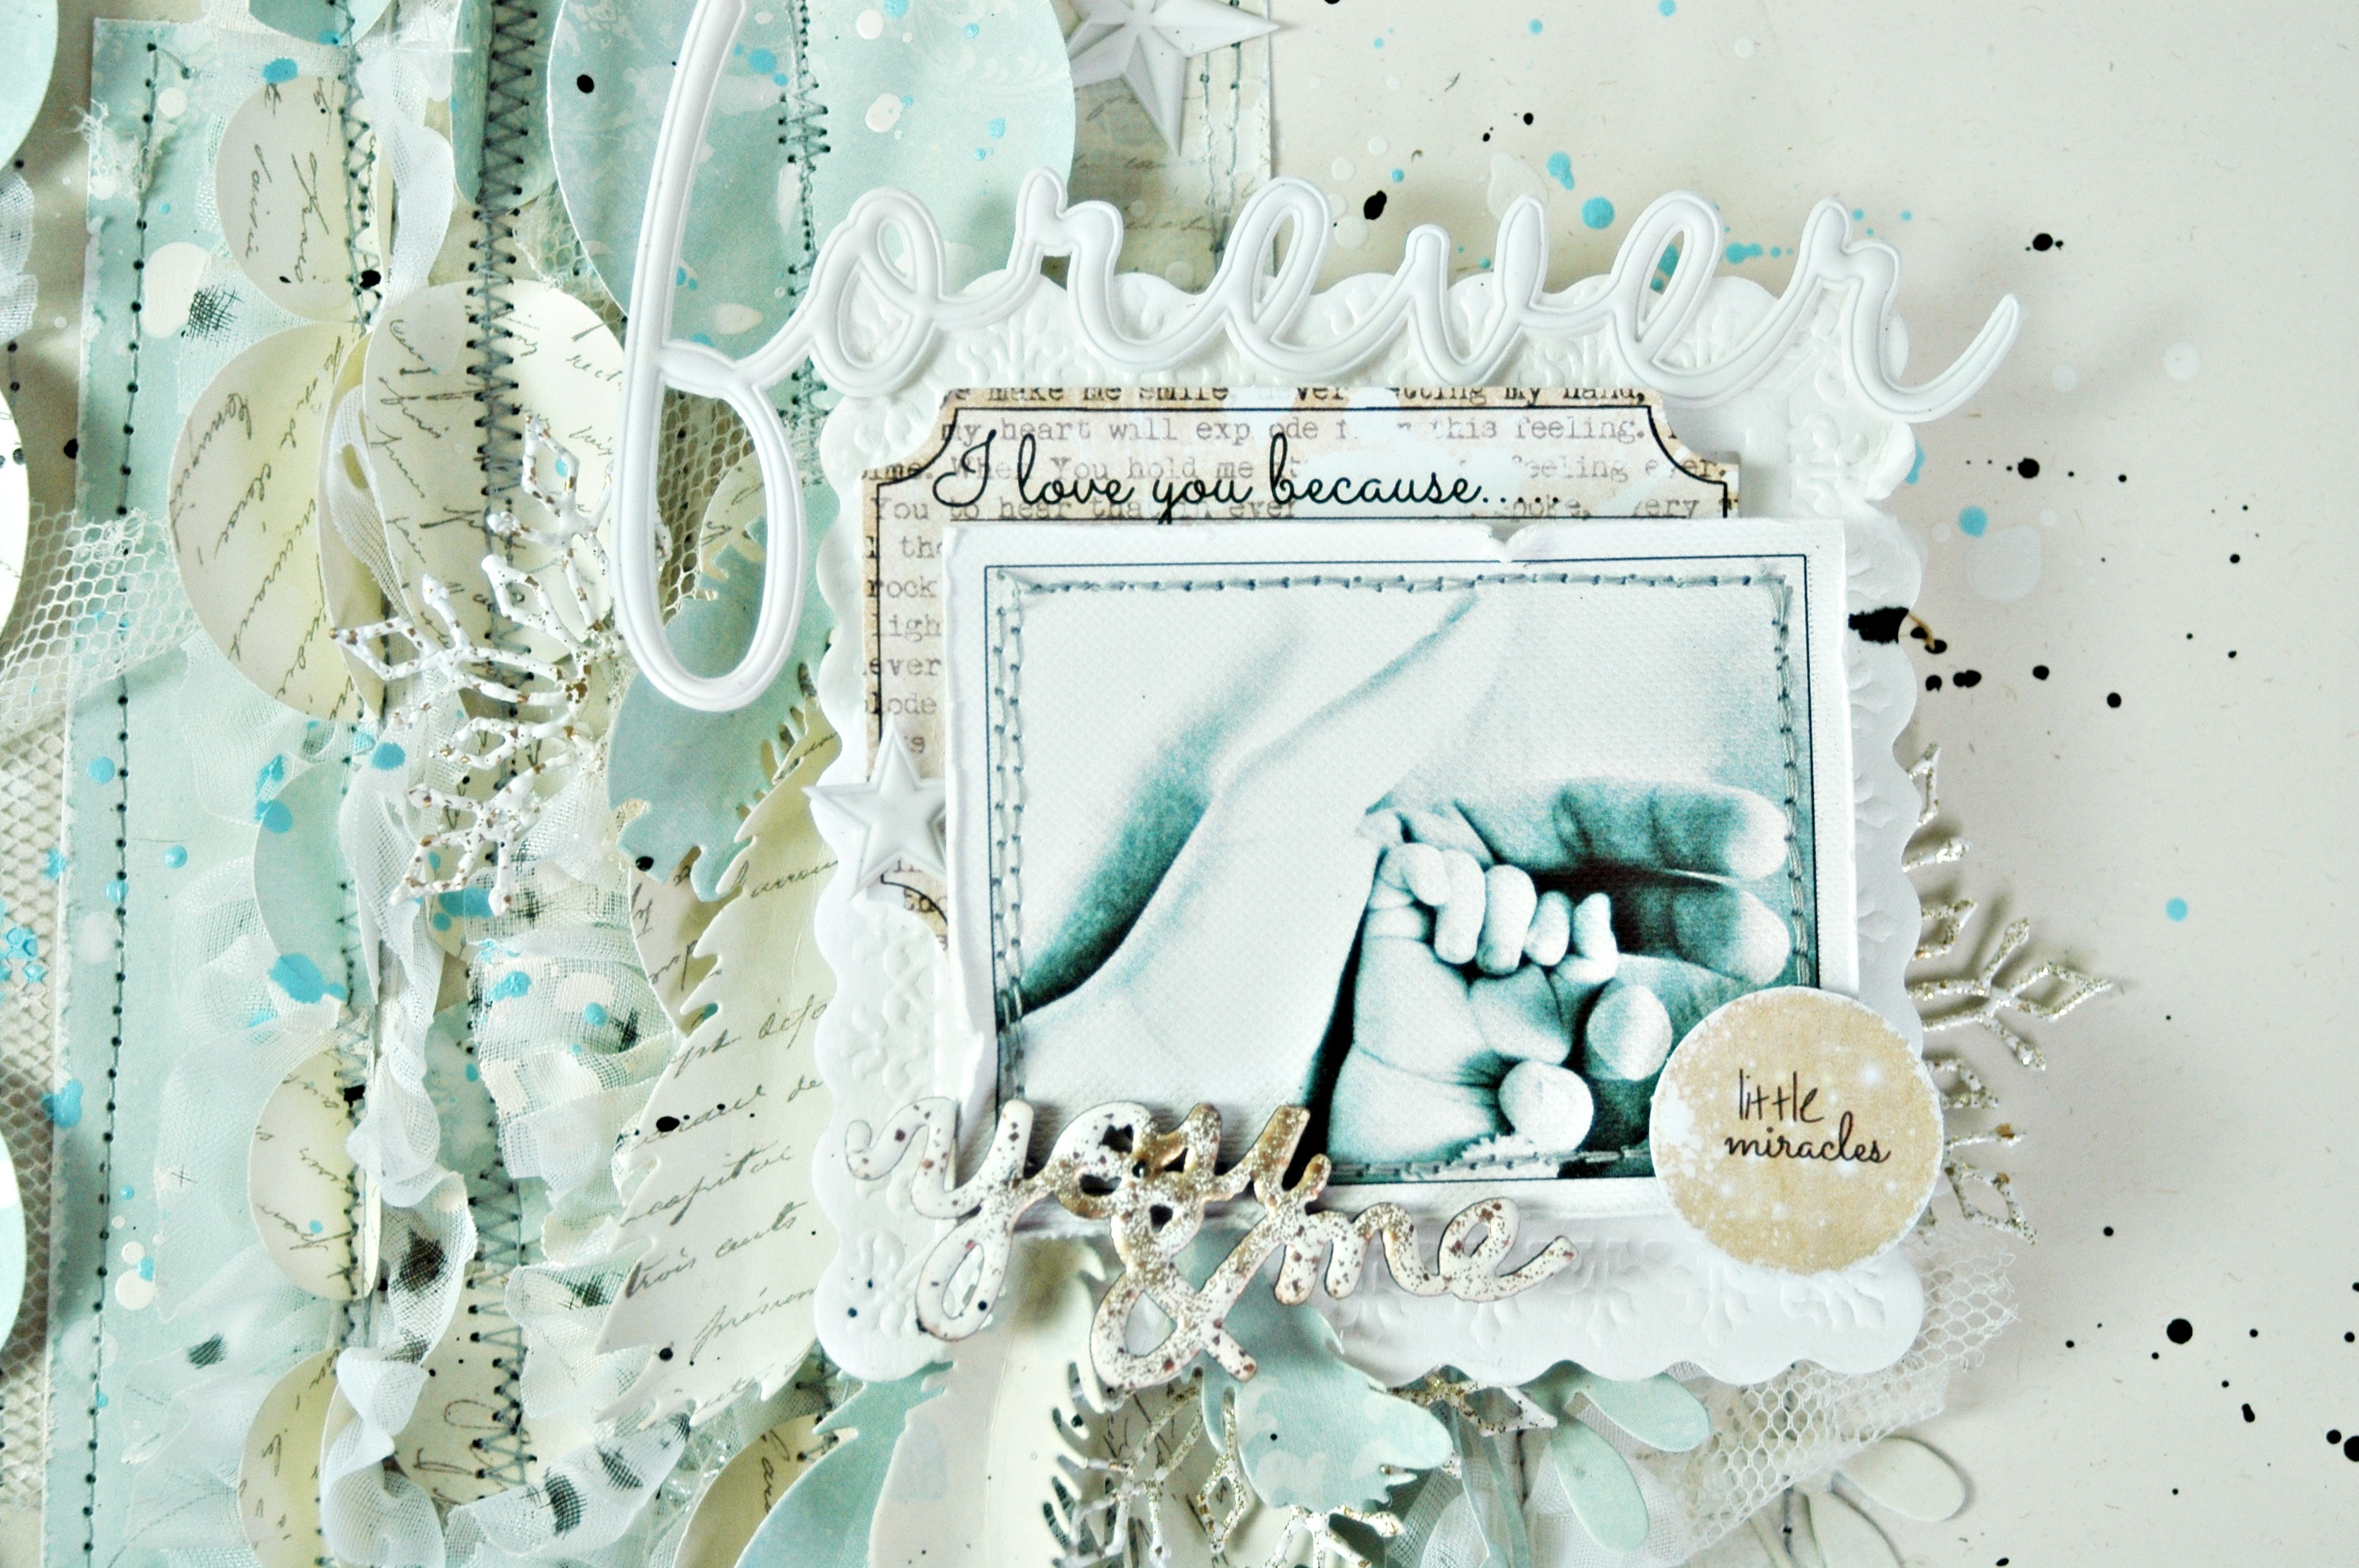
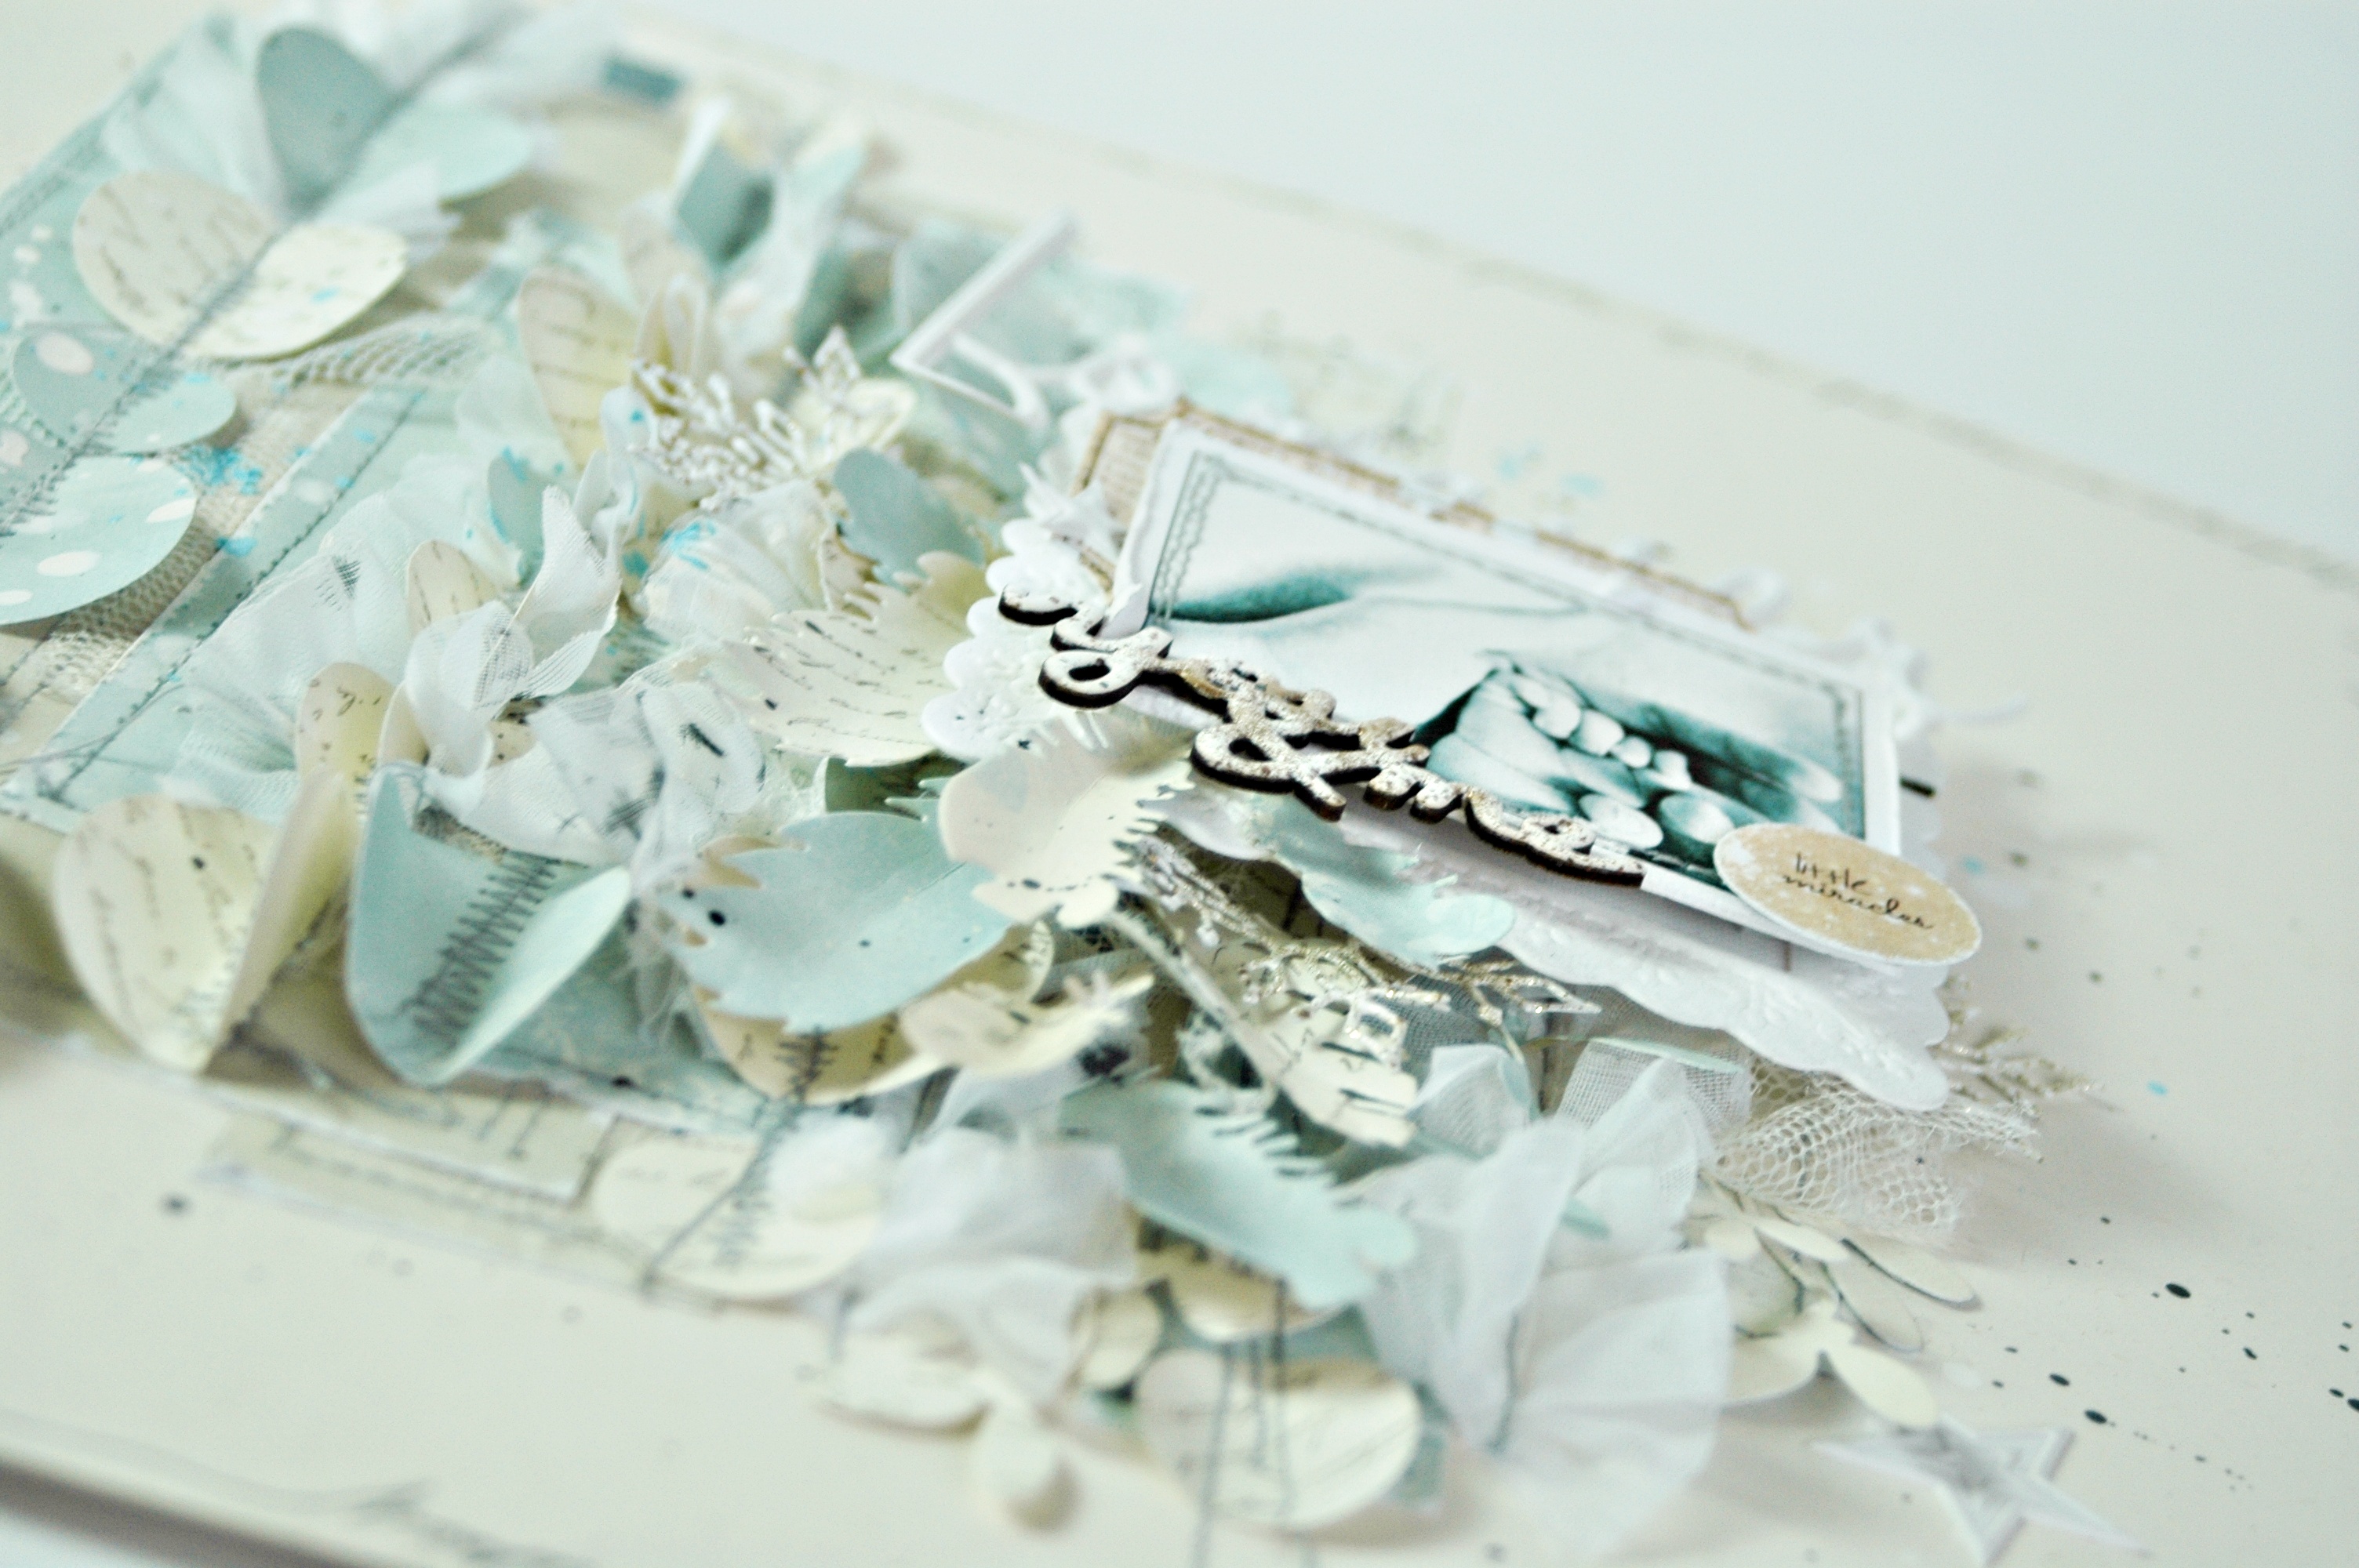
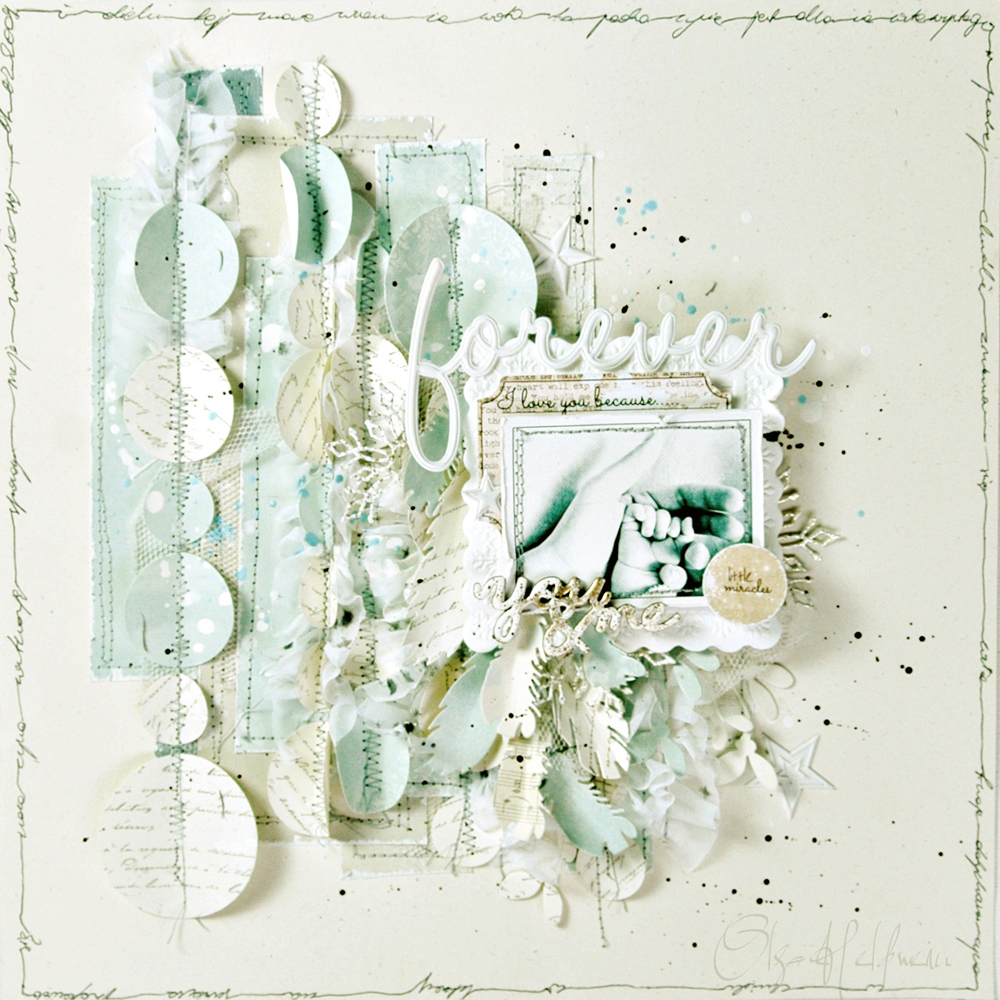
Hi! It’s me Olga! Today I have for You a subtle, delicate layout made with Pion papers.

DSC_4408

This picture is very important for me and I wanted my work to be light.

DSC_4406

I hope You like it!
Olga

Pion products:
Fairytale of Spring 12×12 ~ Poem of spring PD1409B
Fairytale of Spring 12×12 ~ Poem of spring PD1409F
Fairytale of Spring 6×6 ~ Poem of spring PD2205
For Mother 12×12 ~ Yellow pansy PD2303B
Flower Frames ~ Chrysantemum PD4207back

  • Márcia Carvalho de Souza

    It’s a beautiful page!! Very, very cute!!ReplyCancel

  • Stunning! Nicola xReplyCancel

  • Beautiful layout Olga!ReplyCancel

  • Absolutely beautiful work here Olga. I LOVE the color and the pictures are just awesome too and together it just gets perfect.ReplyCancel

  • Theresa ~ Pion Design

    This is wonderful – thank you Olga ♥ReplyCancel

  • Ohhhhh….. so delicate, so beautiful!!!!ReplyCancel

  • Du bør også forstå de tidsfrister av stoffet , og du må vite hvor lang tid før seksuell aktivitet du må ta Viagra og deretter hvor lenge effekten vil vare . Dette er viktig som med Viagra du bare kan ta stoffet en gang om dagen , så hvis du tar stoffet til tidlig eller sent du kan ende opp med skuffende resultater for både deg og din partner . Kjøp Viagra. Det er viktig at du bør være klar over alle bivirkninger og risiko av stoffet, og du bør sørge for at du vet hvilke bivirkninger er ikke normalt , og når du bør søke lege hvis disse effektene siste .ReplyCancel

SHARE ON FACEBOOKSHARE ON GOOGLEPIN IMAGESUBSCRIBE BY EMAIL

PDAprilthankyou750t

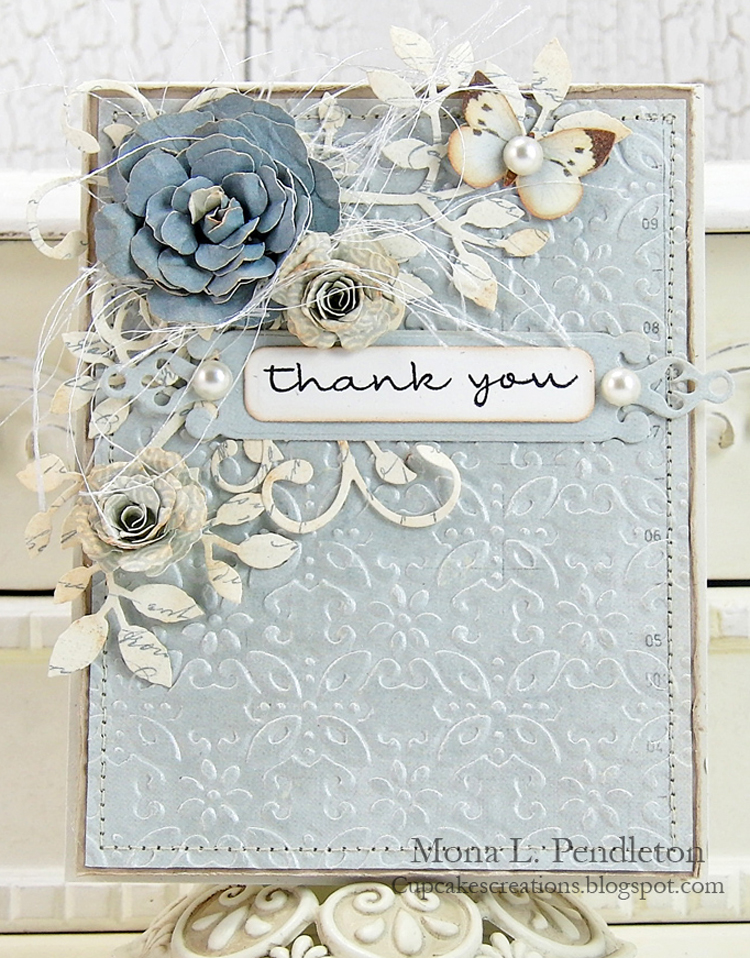
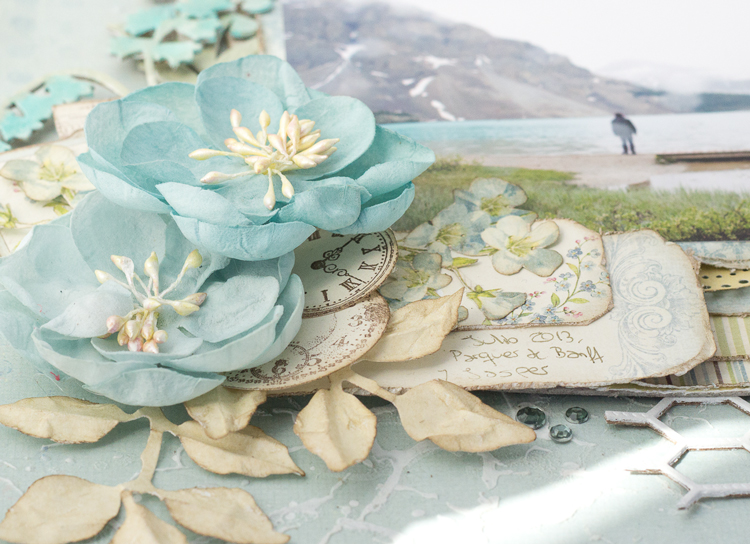
Hi there! I made a this card using pretty papers from the Shoreline Treasures collection.
For texture, I embossed a piece of Shoreline Treasures paper then applied some glaze medium for a bit of sheen.
I made all of the flowers and foliage using a variety of papers included in the Shoreline Treasures collection as well.

Thanks so much for stopping by!
Kind Regards,
Mona

Pion products:
Shoreline Treasures ~ Sailing PD4601 ~ back
Shoreline Treasures ~ White Blossom PD4608 ~ back
Shoreline Treasures ~ Borders PD4601 ~ back
Shoreline Treasures ~ PD4610 ~ back
Shoreline Treasures ~ Images PD4611 ~ back

SHARE ON FACEBOOKSHARE ON GOOGLEPIN IMAGESUBSCRIBE BY EMAIL

IMG_1387

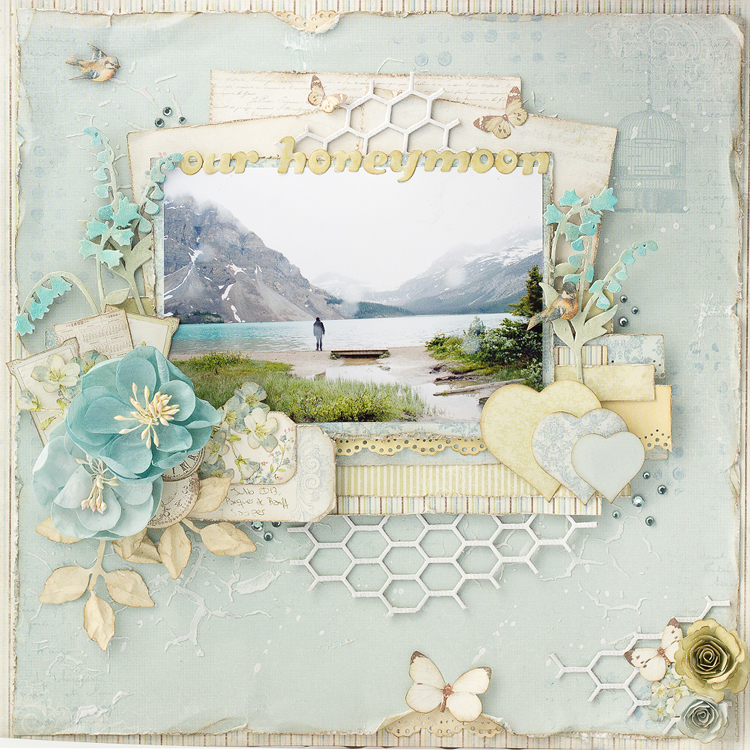
Hello everyone! I made this layout mixing some collections.

IMG_1396

I love that Pion’s collections work so well together. In this case I used papers from Vintage Garden, Flower Frames and A Day in May.

IMG_1405

Have a great day!
Teresa

Pion products:
A Day in May – Apple blossom PD4405
Flower Frames – Viridis PD4212
Flower Frames – Flavus PD4210
Vintage Garden – Flax PD3605B
Vintage Garden – Blue ornament PD3605B
Vintage Garden 6×6″ – Flax PD3703
Flower Frames 6×6″- Convallaria PD4301

SHARE ON FACEBOOKSHARE ON GOOGLEPIN IMAGESUBSCRIBE BY EMAIL

DSC_0036

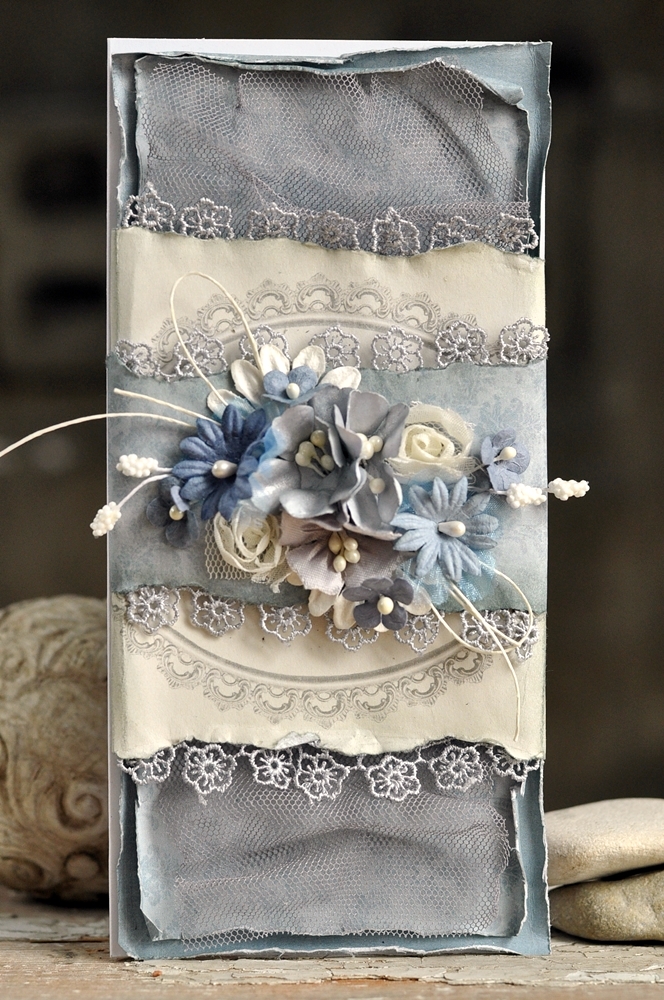
Here are some Flower Frames cards, all in different designs and colors.

DSC_0012

DSC_0006

DSC_0006

Thank you for visiting.
Best Regards,
Ewa

Pion products:
Flower Frames – Caeruleus PD4211
Flower Frames 6×6″ – Anemone PD4305
Flower Frames – Viola PD4202
Flower Frames 6×6″ – Viola PD4302
Flower Frames – Canus PD4204
Flower Frames – Chrysanthemum PD4207
Flower Frames – Virdis PD 4212

  • Great idea Ewa!!
    Beautiful cards!!ReplyCancel

  • These are so beautiful all of them, but as blue is my favorit color, I must admit, that this one has one more point than the others he he, but I really like them all, and I´m blown away with this gorgeous paper here, soooo beautiful.ReplyCancel

  • Beautiful cards 🙂ReplyCancel

  • Such beautiful layers and textures.
    Alison xReplyCancel

  • Theresa ~ Pion Design

    They are gorgeous – love all the layers ♥ReplyCancel

  • Márcia Carvalho de Souza

    What a beautiful cards!!!ReplyCancel

SHARE ON FACEBOOKSHARE ON GOOGLEPIN IMAGESUBSCRIBE BY EMAIL

DSC_9078

It’s Spring outside and on my crafting table lies the Shoreline Treasures papers with its Summery feeling, can it be better? For today’s card I have used the sheets Sailing and Seashells combined with Borders and a text from the Image sheet.

DSC_9082

Have a nice day,
Marianne.

Pion products:
Shoreline Treasures – Sailing PD4601
Shoreline Treasures – Seashells PD4604
Shoreline Treasures – Borders PD4610
Shoreline Treasures – Images PD4611

SHARE ON FACEBOOKSHARE ON GOOGLEPIN IMAGESUBSCRIBE BY EMAIL

IMG_1547_3

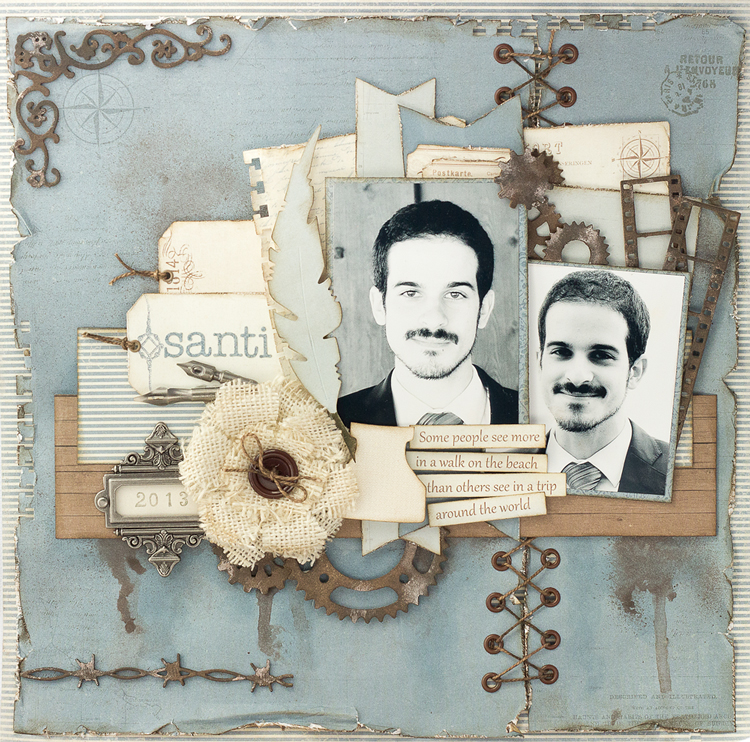
Hi there! I’m completely in love with the gorgeous blue tones on Shoreline Treasures collection. I wanted to scrap these photos of my little brother and I thought the blue and brown papers would work be perfect to make a masculine layout.

IMG_1488

Wishing you a great day!

Teresa

Pion products:
Shoreline Treasures – Borders PD4610
Shoreline  Treasures – Warm breeze PD4607
Shoreline Treasures – Images PD4611
Shoreline Treasures – Sailing PD4601
Shoreline Treasures – Knots PD4609

  • Theresa ~ Pion Design

    Fantastic layout Teresa – thank you ♥♥♥ReplyCancel

  • Chang Alison

    Indeed a very masculine card. Very unusual layout. Nice.
    Chang alisonReplyCancel

  • Oh!! It’s a lovely layout!!! great!
    (and a handsome guy :))ReplyCancel

SHARE ON FACEBOOKSHARE ON GOOGLEPIN IMAGESUBSCRIBE BY EMAIL

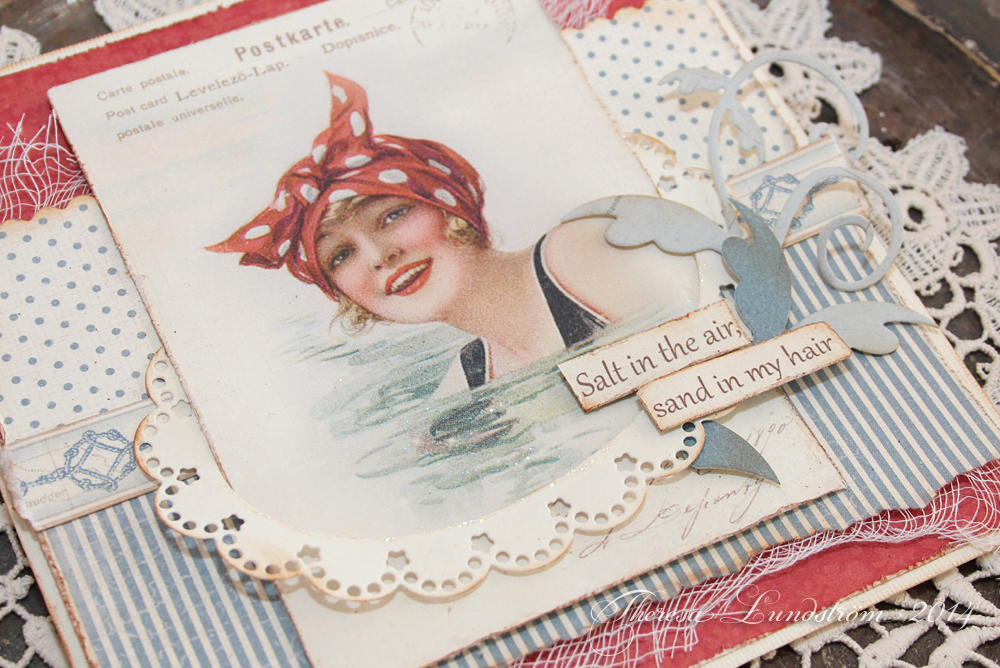
st-bad1Hi Theresa here with a Summer card.

st-bad2

I combined paper and image from the Shoreline Treasures with the red sheet in the Flower Frames collection.

Theresa

Pion products:
Flower Frames – Papaver PD 4309
Shoreline Treasures – Iris Sibirica PD4602
Shoreline Treasures – Seashells PD4606
Shoreline Treasures – Borders PD4610
Shoreline Treasures –  Images PD4611

  • WAUW it looks sooooo beautiful, and it really looks inviting to me, so I almost want to go and have a swim here right away ha ha ha.ReplyCancel

  • Lovely card, love the papers 🙂ReplyCancel

  • Agneta Nordin

    Vilket underbart kort, de nya papperen är ljuvliga 🙂ReplyCancel

  • Theresa ~ Pion Design

    Thank you ♥♥♥ReplyCancel

  • Oh, I love this one very much!!!ReplyCancel

  • Så fantastisk herlig kort 🙂
    Kan jeg spørre hva det røde arket ditt heter? (og gjerne de blå stripete/ prikkete også) . Jeg skal bestille den nye serien til Pion på nett og det er så vanskelig å finne ark som matcher uten å se dem i virkeligheten

    Klem fra Lisa 🙂ReplyCancel

    • Theresa ~ Pion Design

      Tack Lisa. Det röda arket heter Papaver PD 4309 och ingår i Flower Frames serien. De blå tonerna kommer från senaste Shoreline Treasures. Längst ner i inlägget hittar du alla papper jag använt, under “Pion products”.ReplyCancel

SHARE ON FACEBOOKSHARE ON GOOGLEPIN IMAGESUBSCRIBE BY EMAIL
F A C E B O O K
P I N T E R E S T
C H A N N E L
M E T A