.jpg)
I used the delightful purples of My Precious Daughter for this file folder folio. The folder measures 7″x9″ and is a great size for holding cards and tags. Although I love every collection of Pion Design, I believe this newest collection is my favorite so far! I’m enclosing instructions on how to make this project.
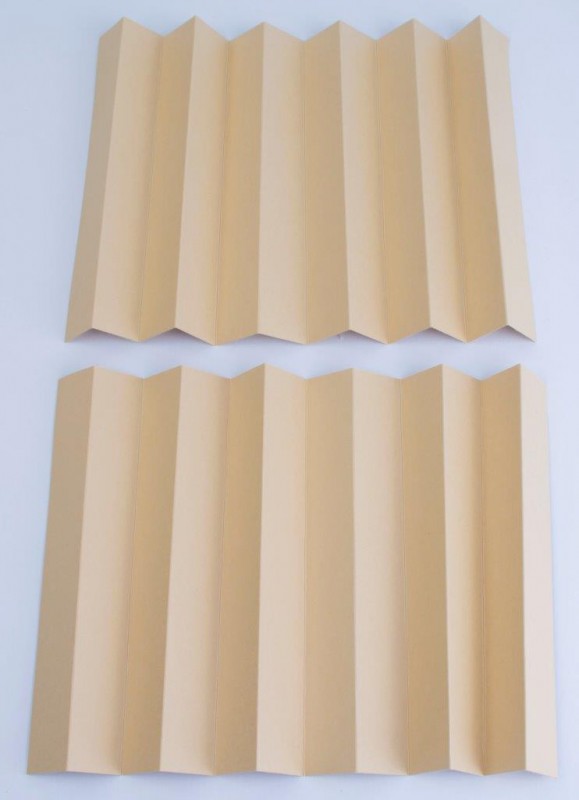
1. For the sides of the folder, cut 2 pieces of card stock measuring 7″ x 12″ and score every 1″ down the shorter side for a total of 11 score lines. Fold these like a fan.
2. For the bottom of the folder, cut a piece of card stock measuring 8 7/8″ x 12″ and score every 1″ down the shorter side for 11 score lines. Fold these like a fan.
3. For the folder front, cut a 7″x9″ piece of card stock.
4. For the back and front flap, cut your card stock to 9″x10 1/4″. Score at 7″ and 7 3/4″ down the shorter side.
5. Cut 5 pieces of card stock measuring 7″x9″. Cut a half circle in the center of the top of each of the pieces.
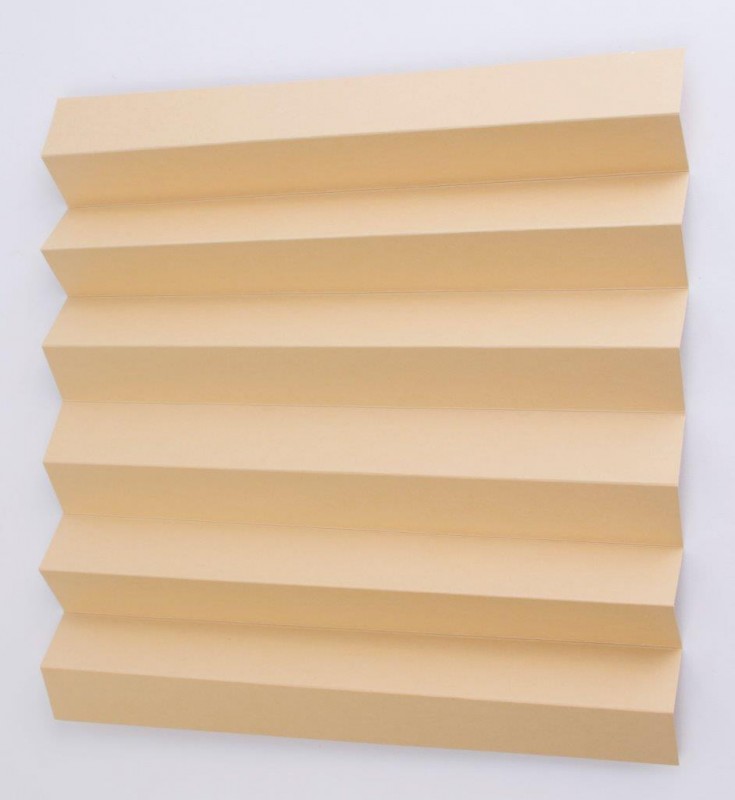
6. Adhere these pieces to the folded sides.


7. Insert the bottom folded piece between the 6 pieces as shown. Adhere the front and back flaps to the side flaps as shown.
8. Adhere the front card stock piece onto the side flaps.

9. Adhere the back card stock piece onto the back side flaps.


10. Cover the project with the beautiful papers of Pion Design.
Have a special day!
Tara
Pion products:
My Precious Daughter ~ Julia’s dress PD4908
My Precious Daughter ~ Anemone PD4903
My Precious Daughter ~ Pansy PD4902

by DT ~ Tara
WOUW this is soooo beautiful Tara. You´ve just again made a gorgeous masterpiece here with these amazing papers. Soooo gorgeous looking and a really useful and perfect project, that can be used for sooo many great things.
This is beautiful, just like all you projects. I have to say I’m always excited when you bring out something new . Thank you for sharing . Marina :))
Oh Tara, this is totally brilliant!!! I adore projects like this and this is such a great design! Fab tutorial too with such clear instructions!! Am going to pin this so I can come back to it! Thank you, great inspiration!!
Mille mercis pour ce superbe tuto! Bises Nadine
Un proyecto super romantico , muy hermoso. Gracias por compartirlo. Que disfrutes de un hermoso fin de semana.
As always… it’s beautiful!!
thanks for the tutorial 🙂