

Hello! I recently posted a Tag Wardrobe box, and today I am posting the tutorial for this special box. For this dimensional project, I used the red papers from “A Christmas To Remember.”
Step 1: Cut out 6 chipboard pieces in the following sizes: (*NOTE* chipboard/mat board used was 1/16″ thick)
Step 2: Cover all sides with Pion Design Christmas papers:
Step 3: Glue the back to the floor of the box, and then glue the sides to the back and floor:
Step 4: I used a die to cut the wardrobe door as shown, but you can also just center and cut out a 4″ x 5″ square in the front 5 1/2″ x 6″ piece:
Step 5: Cut the door in half:
Step 6: Apply hinges to connect the doors to the front panel and then add small knobs to the doors as shown:
Step 7: Insert and adhere a wood dowel or a sturdy paper straw that measures 5 1/2″ to the sides of the box (you may need to trim the dowel or straw a little to get it to fit optimally against the sides):
Step 8: Adhere the front panel to the front of the box, and then adhere the remaining top panel to the top of the box:
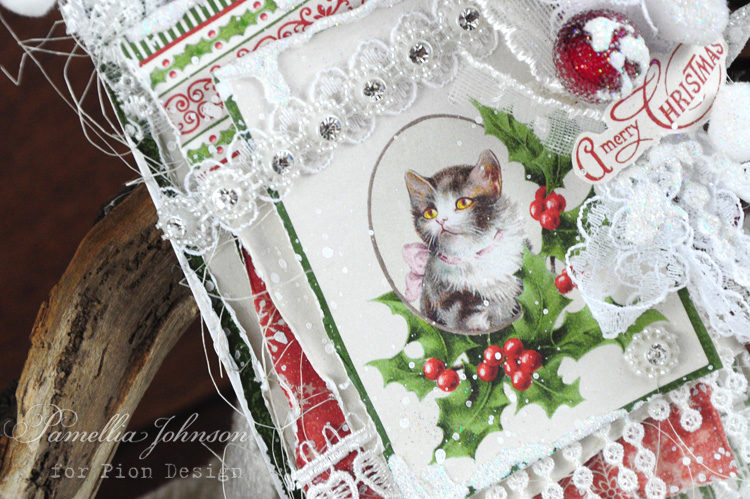
Step 9: Cut out tags/images from the collection and use craft paperclip hangers to hang them onto the wooden dowel:
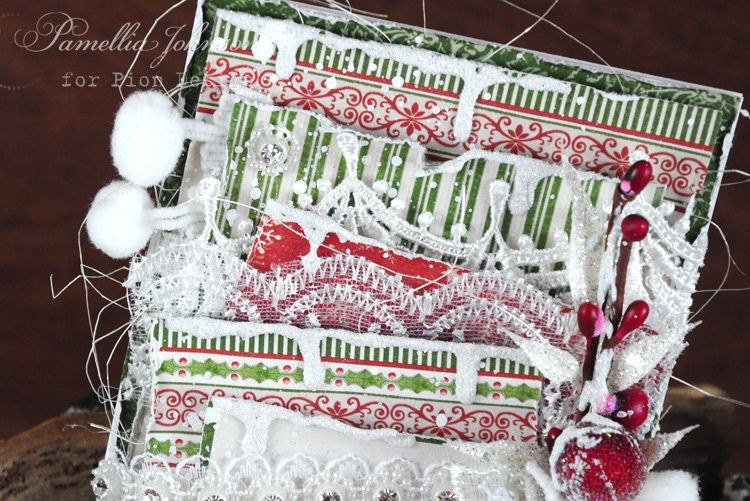
Step 10: Decorate the box
Enjoy holiday crafting with these special papers!
Tara
Pion Products:
A Christmas To Remember – PD30001
A Christmas To Remember – PD30013
A Christmas To Remember – PD1649
A Christmas To Remember – PD1650
A Christmas To Remember – PD1651
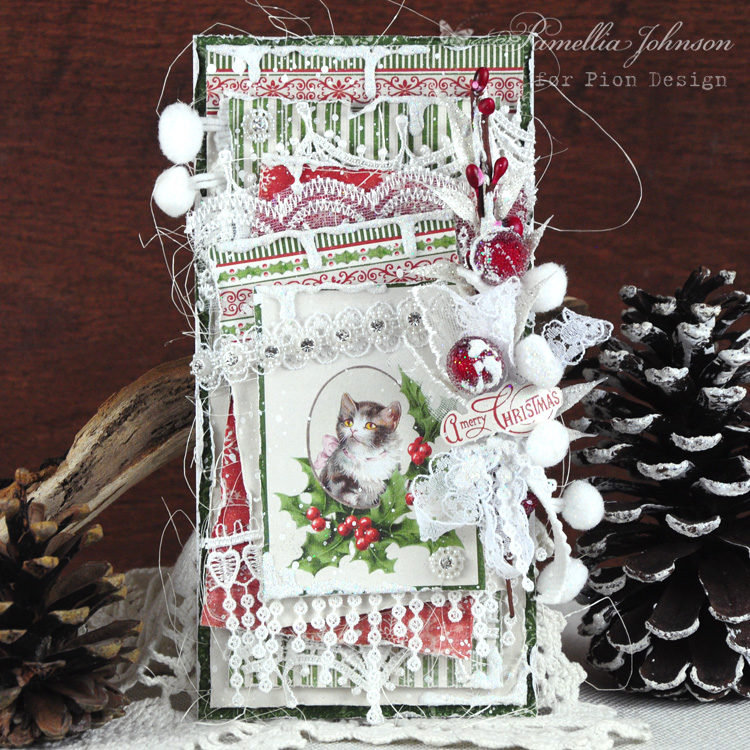
by Dt ~ Pamellia
This is so cute and beautiful, and I love the wintery feel, you´ve given this with all the gesso and snoweffect on it. Truly gorgeous as alwaus and sooo well made.
Everything here is always wonderful!