

Hello! Today I am sharing a tutorial on how to make this special Purse Album. It is a quick and easy way to make a photo album or recipe holder for a meaningful gift. There are 16 pockets for 16 cards. Photos or recipes can be placed on both the front and back of each card. For the tutorial, I used the collection Everlasting Memories along with Pion Design Palette.
Amount of paper and cardstock needed:
Purse Frame:
3 pieces of Pion Design Palette
2 1/2 pieces of Everlasting Memories
Purse Spine:
1 piece Pion Design Palette
Purse pockets:
5 1/2 pieces of Pion Design Palette
3 pieces of Everlasting Memories
Purse cards:
4 pieces of Pion Design Palette
Total Paper Needed:
13 1/2 pieces of Pion Design Palette
5 1/2 pieces of Everlasting Memories
**TIP**: Although optional, I always apply chipboard to the inside of each piece of the purse frame for better support. The chipboard is applied after the purse frame is constructed, but before adding the decorative paper. The decorative paper is applied over the chipboard to hide the chipboard. This is described at Step 11 in the Purse Frame instructions below.
Purse Frame:
Step 1:
Cut 3 pieces of Pion Design Palette cardstock measuring:
7″ x 10 1/2″ (Piece A)
7″ x 12″ (Piece B)
7″ x 6 (Piece C)
Step 2:
Take Piece A (7″ x 10 1/2″) and score down the shorter 7″ side at 1/2″, 4 1/2″, and 9 1/2″, then score down the longer 10 1/2″ side at 1/2″ from each edge.
Step 3:
Cut out all 4 corner scored boxes and then cut angled tabs at all edges as shown:
Step 4:
Adhere the 1/2″ sides to what will be the inside of the purse. This reinforces the purse making it more stable.
Step 5:
Take Piece B (7″ x 12″) and score down the shorter 7″ side at 6″ and 11″, then score down the longer 12″ side at 1/2″ from each edge.
Step 6:
Cut out all 4 corner scored boxes and then cut angled tabs at all edges as shown:
Step 7:
Adhere the 1″ tab of Piece A to the edge closest to the 6″ score line of Piece B as shown before adhering the 1/2″ sides of Piece B to what will be the inside of the purse.
Step 8:
Adhere the 1/2″ sides to what will be the inside of the purse.
Step 9:
Take Piece C (7″ x 6″) and score at 1/2″ on each side down the shorter 6″ side. Cut edges at angles. OPTIONAL: Add die cut for bottom edge if desired.
Step 10:
Adhere the 1″ tab of Piece B to Piece C as shown before adhering the 1/2″ sides of Piece C to what will be the inside of the purse.
Step 11:
Adhere the 1/2″ sides to what will be the inside of the purse.
**OPTIONAL** At this point, a smaller piece of chipboard can be added to the inside of each section of the purse frame as an option to give better stability to the pieces. Decorative paper should then be applied over the chipboard to cover it completely. I generally cut each chipboard piece 1/4″ shorter than the actual dimensions. For example, a 4 1/2″ x 6″ purse section would require a piece of chipboard cut to 4 1/4″ x 5 3/4″.
**OPTIONAL** Add decorative die cut side trim at this point if desired.
Step 12:
Purse Handle: Cut cardstock to 1 1/4″ x 12″ and score at 1/2″ on each end. Cut 2 pieces of decorative paper to 1″ x 11″ and adhere to cardstock on both sides within the scored outer edges. Center and adhere the 1/2″ ends to the outside edges of the top of the purse (not shown).
Step 13
Add Pion Design papers to each side of the purse:
Piece A (purse front lower flap): cut 2 pieces of Pion Design paper measuring 5 3/4″ x 3 3/4″. Adhere to both sides of this piece.
Piece A (floor of purse): cut 1 piece of Pion Design paper measuring 5 3/4″ x 4 3/4″ and adhere to the outside of this piece (floor of purse). Leave the inside of the purse without decorative paper as we will be placing the spine here later.
Piece B (back side of purse): cut 2 pieces of Pion Design paper measuring 5 3/4″ x 5 3/4″ and adhere to both sides of this piece.
Piece B (top of purse): cut 2 pieces of Pion Design paper measuring 5 3/4″ x 4 3/4″ and adhere to both sides of this piece.
Piece C (purse front top flap): cut 2 pieces of Pion Design paper measuring 5 3/4″ x 5 3/4″ or to whatever height is necessary if you used a die cut at the bottom of the flap.
Step 14:
Add velcro to the outside of Piece A and the inside of Piece C as shown to easily allow opening and closure of the purse. NOTE: if using magnets instead of velcro, place magnets BEFORE adding Pion Design paper to hide the magnets.
Purse Spine:
Create a spine to attach to the floor of the purse. This will enable us to attach pockets for the cards.
Step 1:
Cut 2 pieces of Pion Design Palette cardstock to 5 5/8 ” x 10 1/4″ and then score each of these pieces along the short side in this repeating pattern to the end of the piece: 1/4″, 1/2″, 1/2″. Fold and adhere the spine so that the 1/2″ pieces are adhered together with 1/4″ between each adhered piece as shown:
Step 2:
Attach these 2 spine pieces together giving 16 total individual spine attachments. This combined piece will now measure 5 5/8″ x 5″.
Purse Pockets:
Create pockets to adhere to each spine attachment.
Step 1:
Cut 16 pieces of cardstock measuring 4″ x 12″.
Step 2:
Score down the shorter 4″ side at 5 3/4″, and 11 1/2″ and then score down the longer 12″ side at 1/2″ on one side only and then cut angled tabs at score lines and ends as shown.
Step 3:
Fold and adhere the 1/2″ edges to what will be the inside of the pocket. This reinforced edge will be the top of the pocket and will strengthen the pocket.
Step 4:
Fold the score lines and adhere the 1/2″ side tab to the inside of the pocket.
Step 5:
Add Pion Design papers to the front side of the pocket
Cut 16 pieces of Pion Design paper measuring 3 1/4″ x 5 1/2″ and adhere these pieces to the front side of each pocket.
Step 6:
Apply glue or ScoreTape to both sides of each of the 16 spine attachments that measure 1/2″ and slide the end of the pockets (without the reinforced edge) over the spine attachment and adhere firmly.
Step 7:
Adhere this spine to the inside base of the purse frame.
Purse Cards:
Create 16 tabbed cards to insert into each pocket.
Step 1:
Cut 16 cardstock pieces measuring 5″ x 5″. Place tab of choice on edge and insert in pocket.
Best wishes for a great day!
Tara
Pion Products:
Everlasting Memories – PD28001
Everlasting Memories – PD28003
Everlasting Memories – PD1647
Pion Design Palette – Pion Pink IV PD6118
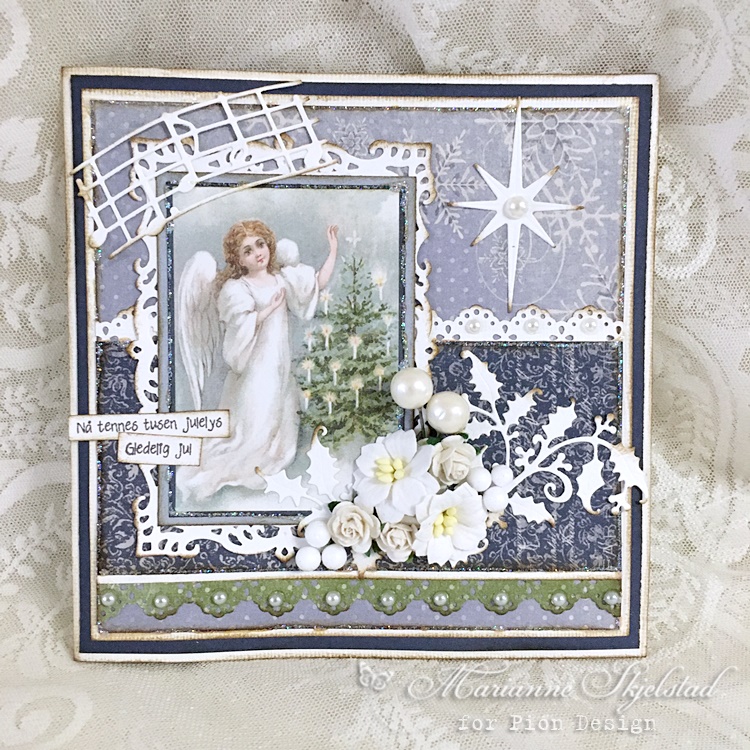
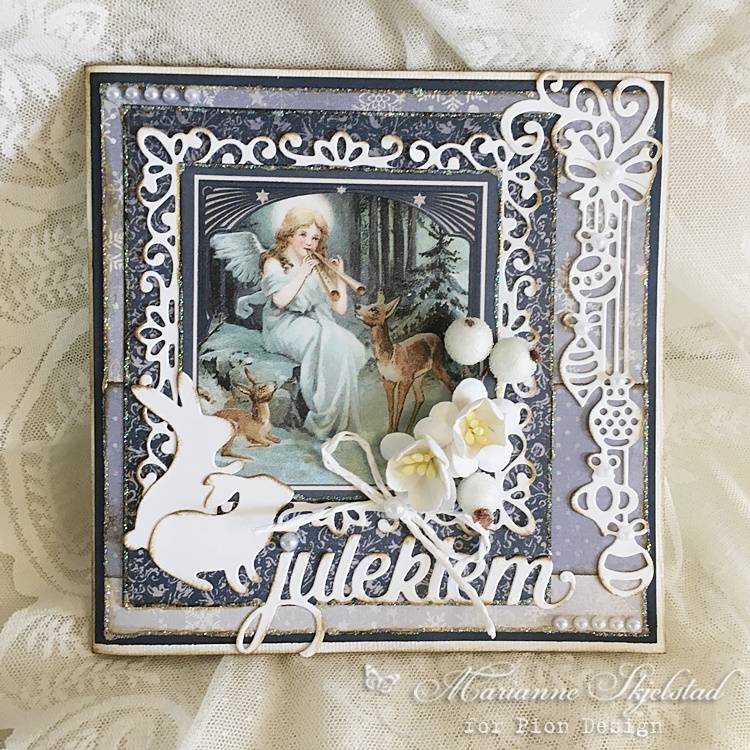
by DT~ Marianne
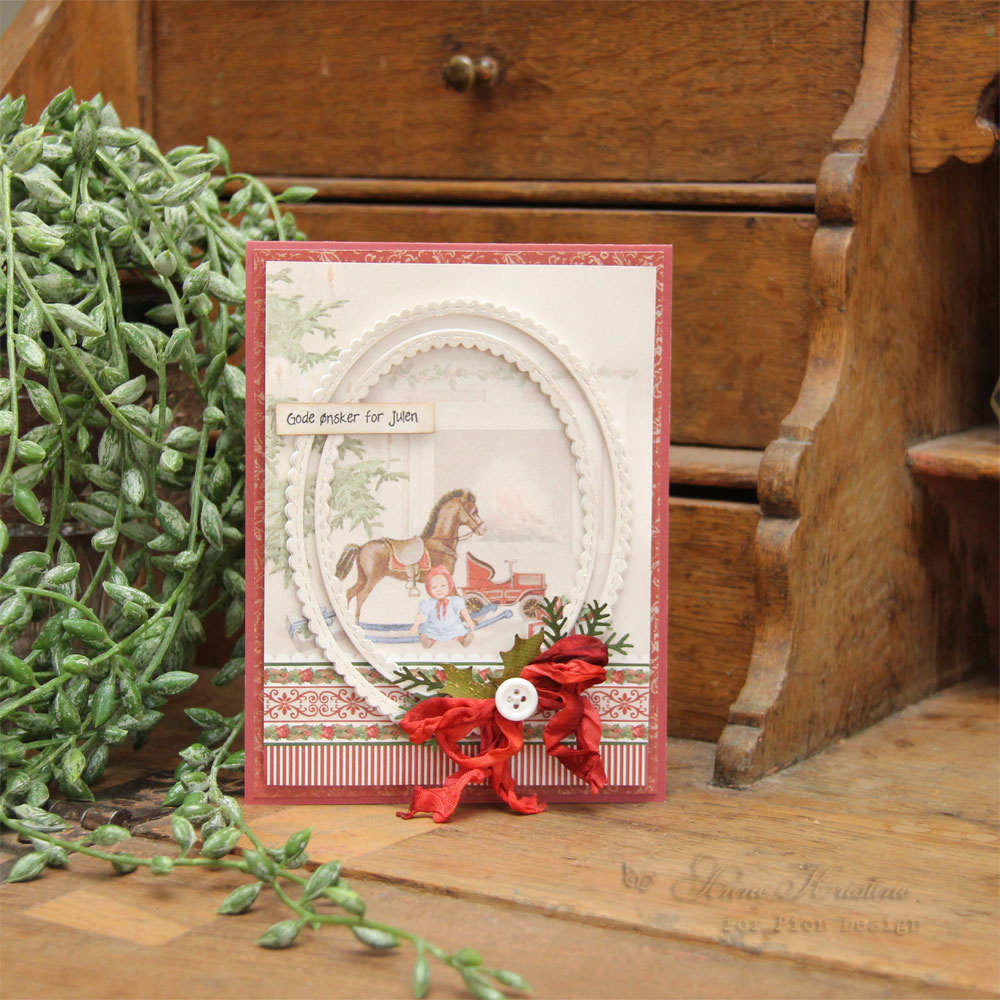
Such a beautiful and perfect card for Christmas. I love the traditional feel to it, it brings me some peace and calm somehow and it looks awesome. Stunning work as always, well done.